Part 3: Laying the Foundation – A Step-by-Step Guide to GCP Setup
With our Product Requirements Document (PRD) as our guide, it’s time to move from planning to practice. Before we can write or deploy any code, we need to set up the foundational infrastructure on Google Cloud Platform (GCP). This is a one-time setup process that, once completed, will allow us to deploy and update our application with simple commands.
This guide will walk you through the essential steps to prepare your GCP project for a serverless web application.
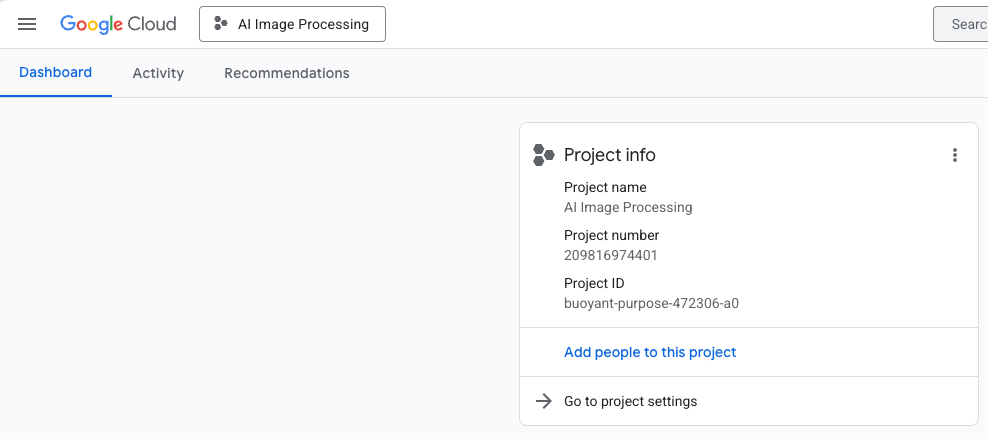
Step 1: Create Your GCP Project
Everything in GCP lives inside a project. This is the top-level container that holds all your resources.
Step 2: Enable the Necessary APIs
By default, most GCP services are turned off. You need to explicitly enable the APIs for the services you intend to use. For our project, this meant enabling four key APIs:
- Cloud Run API: To deploy and run our serverless backend.
- Cloud Build API: The service that automatically packages our code into a container.
- Cloud Storage API: To create and manage our image storage bucket.
- Artifact Registry API: To store the container images created by Cloud Build.
Step 3: Create and Configure the Cloud Storage Bucket
Our application needs a place to store the final, processed images. A Google Cloud Storage (GCS) bucket is the perfect solution.
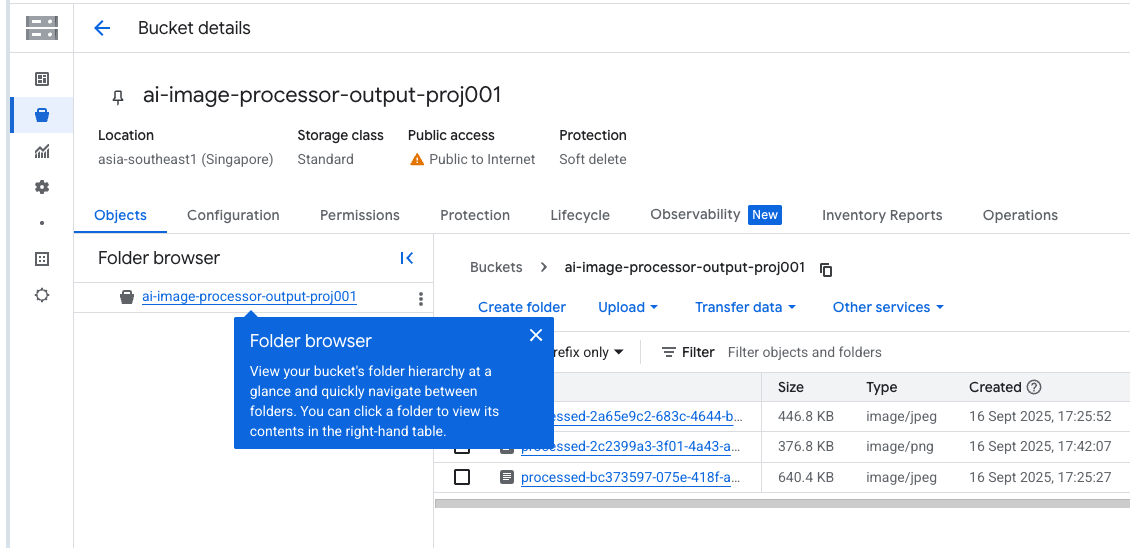
The most critical step here is making the images publicly accessible so users can download them. This requires a specific permission setting. After creating the bucket, we navigate to the “Permissions” tab and grant access to a special principal called allUsers with the role of Storage Object Viewer. This allows anyone on the internet to view the files but not list the contents of the bucket or upload new files.
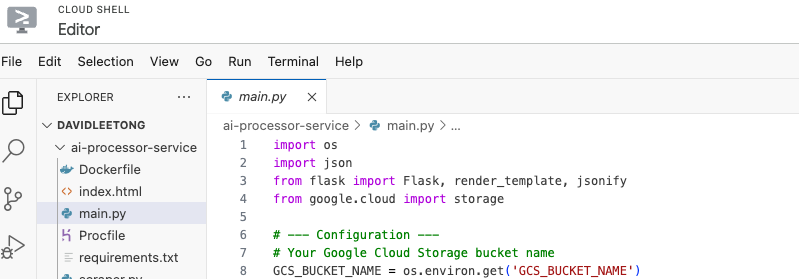
Step 4: A Home for Our Code – The Cloud Shell Editor
While you can develop locally, GCP provides a powerful, web-based IDE called the Cloud Shell Editor. It comes pre-configured with the gcloud command-line tool and everything else we need. We’ll use this as our primary development environment.
With our infrastructure in place, we are now ready for the most exciting part: using our PRD to prompt the AI to write the code and attempt our first deployment. In the next post, we'll build the first version of our application and bring our backend online.


0 Comments